Edit toolpath
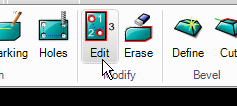
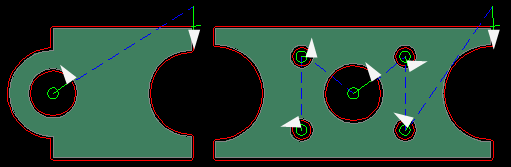
Use the "Edit part" command to modify, reorder and apply the "Sort" command after the toolpath has been assigned to a part. IGEMS shows all cutting directions of all parts on the drawing.
Select the part to edit

Cutting order

The internal cutting sequence is sorted manually by selecting a contour and moving it up or down in the list using the "arrow" buttons.
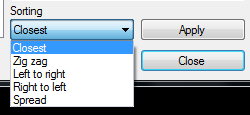
To re-order using a predefined sorting algorithm select the algorithm and press "Apply". Read more about the sorting on the Contour command.
Delete a toolpath

Use the "X" button to delete a toolpath from a contour. This can also be done by using the Erase toolpath command.
Make a Stop
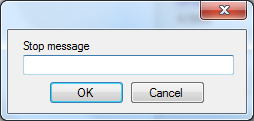
Press the "Stop" button to add a stop in the CNC-file. The stop will take place before the geometry should be cut. If the CNC-controller supports messages the message will be displayed for the operator.
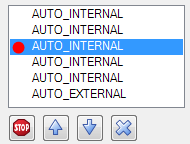
A red circle in front of the text indicates that a stop has been assigned to the node. To remove the stop, press the "Stop" button again. The stop will be done only during the cutting (not on pre-piercing or drilling).
Zero point
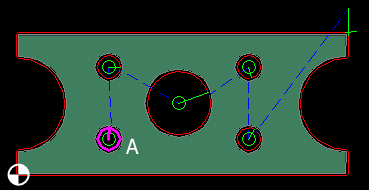
As default the zero point of each part is located in the lower left corner. There is no reason to move this point, unless there are special applications that will not use this point. The selected geometry (A) is always highlighted on the drawing.
Lead and piercings
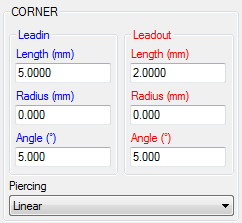
Change the lead and piercings the same way as in the Contour command.
Add extra rapids between contours
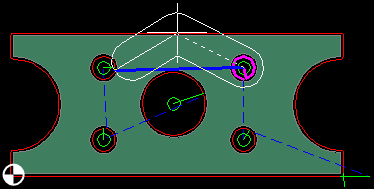
When it is necessary to add extra rapids between nodes in the part to avoid collisions, for example then click on the node to move and press the "Rapid" button. Add as many rapids as needed and press the spacebar to interrupt. To delete an extra rapid press the "rapid" again without giving any points.
What does the thick area around the rapid points mean?
This is the outside tool diameter. The value can be set in the machine setup.