Leader
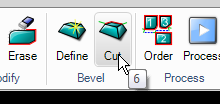
The "Cut bevel" command is used to add toolpaths to bevel parts.
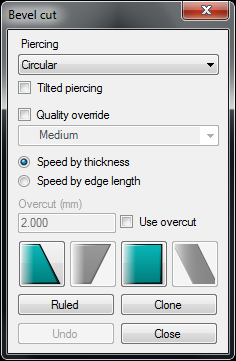
Before adding the toolpath set the following parameters:
Piercing
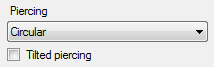
Set the type of piercing to use.
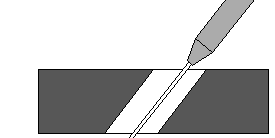
When it is necessary to make a tilted pierce, the tilting direction will be the same as the first point on the contour. Typically it is better to use a vertical pierce instead of a tilted pierce.
Quality and speed
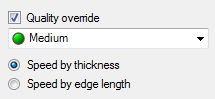
Normally the cutting quality is inherited from the part. Check the "Quality override" for different qualities on different cuts. This is usable for a two or three time bevel cut.
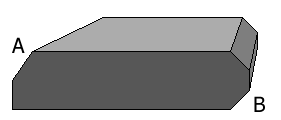
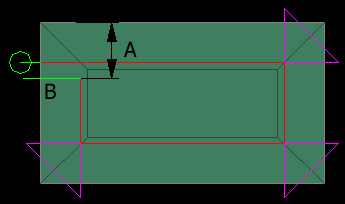
Side (A) shows a two time bevel and (B) a three time bevel.
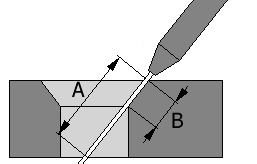
Example (A) shows the thickness of the material in the actual tilted angle. Example (B) shows the edge length. In one time bevel cutting the result will be the same. In two or three time bevel the cutting speed can be very different.
Overcut or micro joints
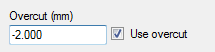
Overcut (positive values) cannot be used when leads are placed in sharp corners. If the value is negative then micro joints can be made. This is very useful when making two or three time bevels.
The negative overcut value will make a micro joint (A). The leadout (B) can be in a direction that will create a micro joint.
Applying toolpaths on Standard bevels

These four buttons show the major standard bevel cutting method (YDS, YAS, X and K is a combination of this methods). Methods that are not present on the part are disabled.
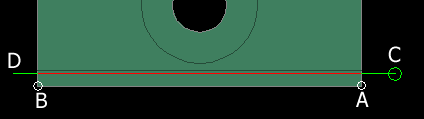
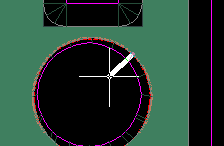
Select the start point (A) and the end point (B). The command then asks for (C) the piercing point (leadin) and the end of the leadout (D).
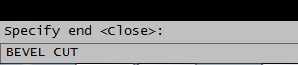
If there is the same type of bevel around the part, then accept the "Close" option by pressing spacebar or Enter.
Applying toolpaths on Ruled bevels
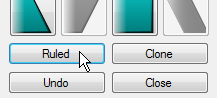
The ruled bevels already contain information about start and endpoint of the cut. Select specific bevel and the position of the piercing point.
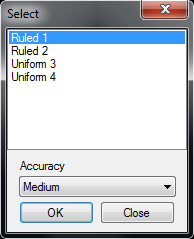
All ruled bevels contain only lines. The "Accuracy" controls the tolerance of this vectorization. "Rough" settings are better than 0.01 mm, "Medium" is better than 0.005 mm and "Fine" is better than 0.001 mm. It is not always true that the finest accuracy will give the best cutting quality.
Press the "OK" button to set the leadin and leadout length. The leadin position will be the position for the piercing.
Clone
This feature is helpful when cutting many identical contours. The command asks for a master and then for holes on which to clone the master.
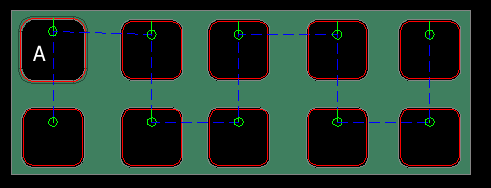
In the example above (A) is the master. The toolpath has been cloned to all other selected holes. Bevel definition must be added to all holes. Clone the toolpath to the contours which have a similar geometry and bevel definition.